Pages

Sunday, 31 August 2014

Auntie Sandra's guide to sewing a baby quilt

Step 1 - Buy some fabric.  Most people would do this after they'd decided on a pattern so they knew exactly how much to buy. But why do things the right way when you can do them backwards?


Make sure the fabric is age appropriate.  For instance make sure there aren't bottles of alcohol on a baby quilt.


Whoops!

Step 2 - Wash fabric.  Really boring.

Step 3 - While waiting for fabric to wash and dry, sharpen your colouring pencils and find your graph paper.

Step 4 - Design a quilt. Start by making a really dodgy sketch of some quilt blocks.


Refine the design slightly.


Honestly that is refined for me!

Step 4 - Draw the quilt (or at least part of it) to scale on graph paper.


Decide that you don't like the corner squares of the blocks.

Step 5 - Try again.


Step 6 - When you're happy with the design, work out how much fabric you're actually going to need.  This can take some time.  Often designs have to be tweaked when you discover you didn't buy the right amount of one colour in Step 1.


Measure the fat quarter of black fabric that you have.  Decide it's not big enough. Measure it again.  Try arranging the strips to cut out differently.  Measure it again.  Wonder why it hasn't suddenly grown a couple of inches.  Measure it again.  Find a scrap of black in your stash and hope that no one will be able to tell you used two different fabrics in the final quilt.

Step 7 - Cut your fabric. You end up with piles of small squares and triangles of fabric and realise that it's going to take a lot of seams to sew them back together.


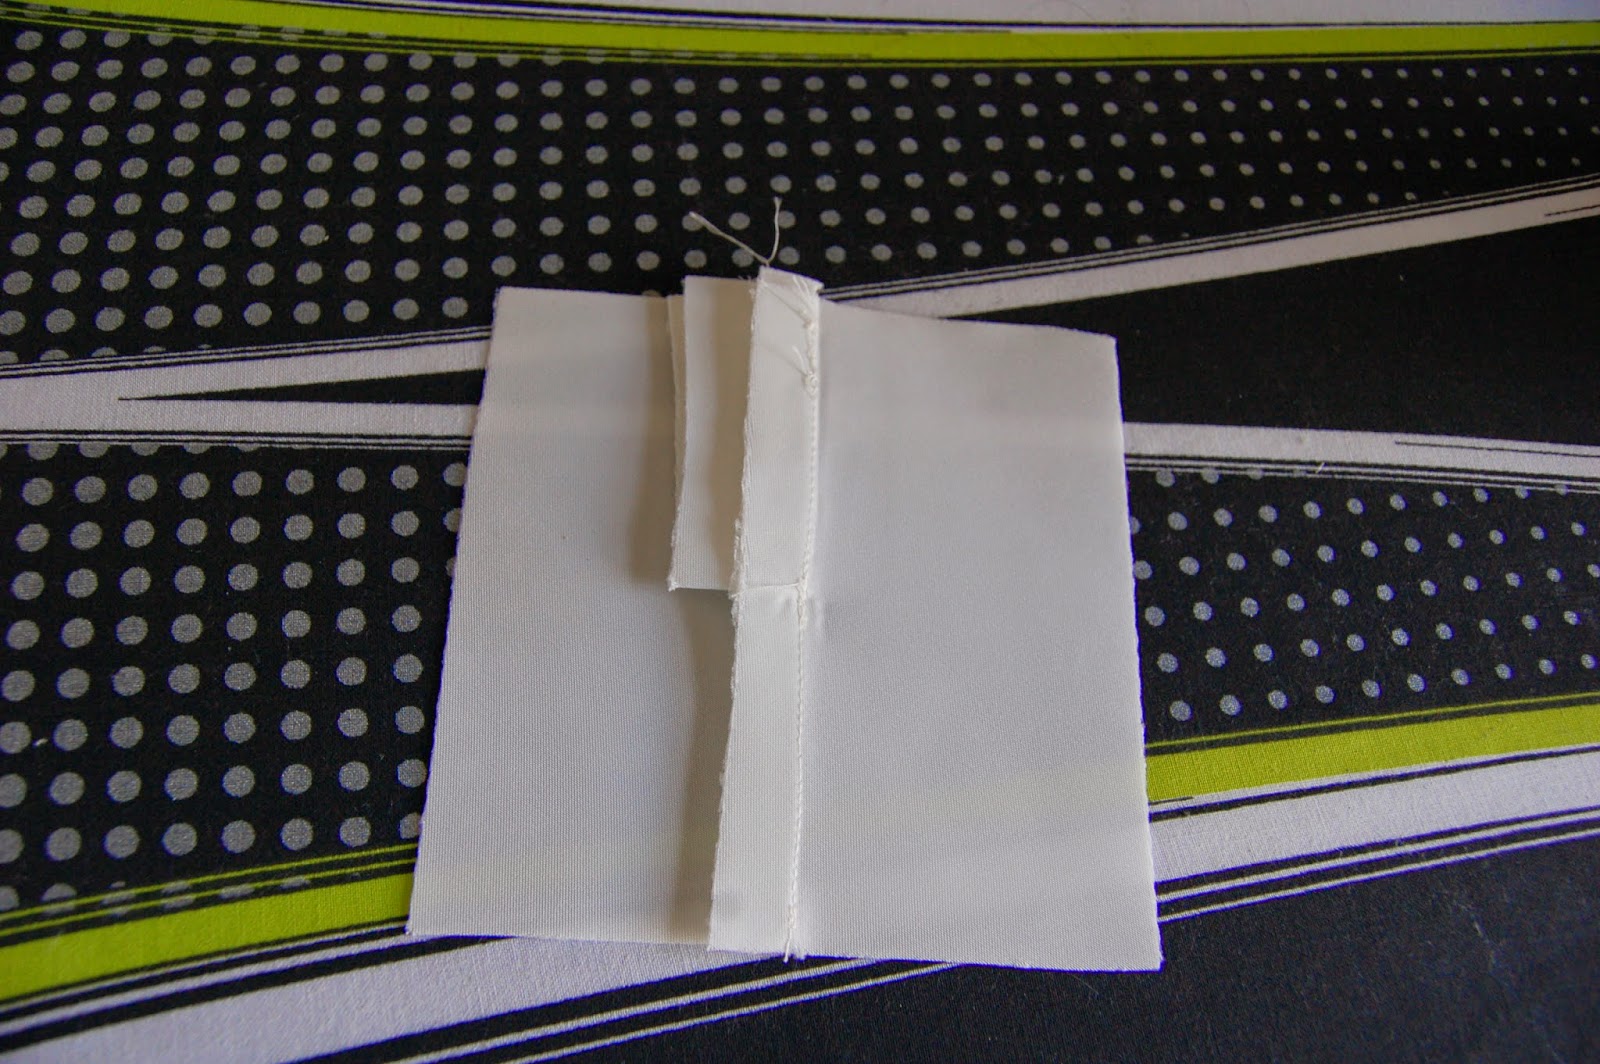
Step 8 - Start sewing.  Use a neutral colour thread, such as cream or grey.  These don't show as much.


Step 9 - Press all the pieces you've just sewn.


Step 10 - See all those squares you've just made from triangles?  All 62 of them?  See those little corners sticking out?


They're going to need trimming off.


On all of them.


At this point do something with the settings on your tablet's camera so that the colours look weird.

Step 11 - Finish sewing strips around squares to make slightly bigger squares.  


Step 12 - Arrange all the pieces you've sewn so far into a quilt shape.  Discover that you seem to be one large pirate square missing.  Count them again.  And again.  Cut a new square and strips to sew around it.  Go back upstairs to sew on the strips and find the original block halfway down the stairs.  


Step 13 - Carefully arrange all of the blocks into piles so that you can sew them all together in the right order.

Step 14 - Sew two of your blocks together incorrectly.


Unpick them and resew.


Step 15 - Sew blocks into strips.  Take a picture, making sure to show off your really stylish sheep socks.


Step 16 - Pin (for the first time in the project, who says I don't like to live dangerously?) your rows together.


Step 17 - Sew the rows together.  I find it really fun to run out of bobbin thread about 2/3 of the way along the last row.

Step 18 - And voila.  A finished baby quilt top.


Complete with bottles of rum.


Monday, 25 August 2014

Sixties and Seventies

I thought I'd treat(!) you to another past creation for the nieces.  It's ages since I've done one, and I've completely lost off with doing them in chronological order, so I've just picked one of my favourite (although not at the time) projects.

Last year, sometime in July I think,  I got a phone call one sunny Sunday morning.  Actually I've no idea if it was sunny or not, but it was definitely Sunday.  The school the girls go to was having a theme day.  They were to go dressed in sixties and seventies themed outfits.  Their Mam had a couple of pairs of leggings.  Did I think I could sew some of bits of material on the bottom, to look like flares?  Well I could have, but where's the fun in that.  Why not make two outfits from scratch?  Because the outfits were needed for Wednesday night for the day on Thursday, that's why!  Yes, I had less than 4 days to make something, while going to work, eating, sleeping, minor things like that.  But never one to let sense get in the way of a good idea I got to work.

Once I started thinking about what to make I decided Charlotte has a kind of hippy vibe about her.  All peace and love and in a world of her own.  I didn't have time to buy any fabric or notions for either of these outfits.  I think these projects say a lot about the amount of stuff I have in the house.  I wanted to make a tiered maxi skirt and some type of top.  I had 2 metres of blue polycotton lying around (as you do) and some broderie anglais (that white stuff with embroidery and holes).  The skirt was easy enough.  I made each layer bigger as I went down the skirt, to make it all twirly and swishy.  Yes, those are technical terms(!).  I could have done with more fabric to make the effect better, but never mind.  Put in an elasticated waistband, and Bob's your uncle.

The top was slightly more problematical.  Fortunately for me I didn't have time to procrastinate.  I flicked through some books and patterns and came across an elasticated dress in '101 Great Ways To Sew A Metre'.  I thought I'd just shorten it by leaving off the skirt part.  I should point out at this juncture that the top is actually called 'Ballet-neck Toddler Dress'.  Charlotte was 9.  Make of that what you will.

To complete Charlotte's look I crocheted a headband from embroidery cotton and stretched it.  I added plaits and beads to each end.

And here we have Hippy Charlotte...


And posing...


As you can see, she also got flowers and trailing leaves painted on her face for the big day.

On to Katie.  I thought she would look really cute dressed sixties style, short A-line dress, knee high boots, head scarf.  I also had some kind of vague idea about an art style.  Something with big, bold blocks of primary colours, framed with black lines.


Turns out the artist Piet Mondrian died in 1944, so not exactly sixties, but why let that stop you?

I adapted another pattern from the book '101 Great Ways To Sew A Metre' (I don't know what I'd have done without it!).  This time it was the 'Summer Fun Playtop'.  I just extended it to make it into a dress.  I put an invisible zip in the back.  It's made from crepe-backed satin of various colours.  I knew the leftover bits of princess dresses would come in somewhere.

I made a highly technical and accurate drawing of the dress to work out where the colour blocks would be placed.  I did debate about showing you this.  As you can see drawing is not my forte!


It was more difficult than I thought to place the blocks (using Bondaweb to stick them).  It might have something to do with that plan.  I covered the joins between blocks and the neck, armholes and hem with black bias binding.  I finished off Katie's outfit with a headband too.  It was a long strip of white with blocks of the colours and bias binding applied.

So here we have our Sixties Chick...


Such a poser!  You can see at the back where to binding doesn't meet properly over the section of red.  I think it was something to do with trying to sew straight lines onto a curved dress.  That and the fact that I was in a rush.

A meeting of the decades...


I love these outfits!  Katie did have a minor meltdown when she tried hers on.  It didn't twirl you see!  Her Mam had to find pictures on the internet of similar dresses to prove that's what they were like.  Fortunately, someone else at the school had posted a picture of her daughter in a sixties style dress that she was wearing.  Crisis averted.  Moral of the story:  Always make sure both nieces have equally twirly outfits.  And next time could I have a bit more notice please?!

Libby's Christening

Last week was Libby's christening.  I'd finished the dress the week before and arranged to drop it off on the Tuesday before the big day.  When she'd try it on yet again.  Her Mam did joke that every time she sees me she'll start stripping off!

During Monday night/Tuesday morning I had a nightmare.  An actual nightmare!  I mean I sometimes dream about projects I'm in the middle of (is that really sad to admit to?), but a nightmare was new.  Libby was having a final try on of dress and shoes, but it wasn't going well.  The poor bairn had very oddly shaped feet.  The shoes were the same size as each other but one foot was so big the shoe wouldn't go on, and the other foot was so small the shoe was dangling off, held on only by the ribbons!  Not the most auspicious of starts.  Then we tried her dress on.  And there was an incident.  I won't go into too much detail, but let's just say there was nappy leakage.  A lot of it.  Baby wipes didn't help at all.

So Tuesday dawned and I was slightly panicked about shoe and dress incidents.  I had a word with Libby that she wasn't allowed to poo near the dress.  I'm not sure she was listening.  She was too busy eyeing up the sparkles.


You can just about see one of the shoes sticking out under the dress there.  These were the best shots we could get of her.  The rest were all too blurry with all the dancing!  I'm also not sure why she looks quite so serious!

I've got a few shots of her after christening too.  By this stage shoes and socks had come off.  I'm surprised they lasted as long as they did.


The look of fascination in the top shot is because there was a young boy just out of shot with a dinosaur he was showing Libby.

One more thing to mention, during the actual christening service, about halfway through, there were distinct straining noises coming from near the font!  As you can see though, the nappy performed it's purpose admirably. 

Saturday, 9 August 2014

Libby's dress

With a whole week(!) to go, I've finished Libby's christening dress.  That's quite impressive for me.  I wouldn't say I left things until the last minute, but I have been known to still be finishing dresses for the nieces the day before they were required.


Do you remember the trim that I didn't think would come off the wedding dress in one piece?  Well it turns out it did.  So I've been able to use it around the waist of the dress.


We've got buttons down the back.


And now for the Ta-Dah moment...  Are you ready...


My ironing board wouldn't quite fit the length of the dress on.  Of course I didn't think of spreading it out on the floor until after I'd taken the shots.  I did cover the ironing board for you though.  I was trying to be a bit arty.

And as a sort of bonus, with some of the leftover fabric and trim, I made...


Some really cute, teeny, tiny shoes!


They may well be the cutest things I've ever made!  The fabric and trim all came from the wedding dress, but the organza ribbon is some I had in my stash.  I was going to put some of the trim over the top of the shoes, but I couldn't coordinate myself and I thought it might be too difficult to actually get feet in and out of them.

I can't quite believe I've finished.  And I've been very good, I haven't pointed out any mistakes at all in this post!

Sunday, 3 August 2014

Disaster!

So, I left you last week feeling proud, and let's face it, a little smug.  I had a completed bodice and just had to attach the skirt.


Last Sunday I gathered the skirt and attached it, taking lots of photos of practice and real placket in the process.


By the end of last weekend I only had to hem the dress and put some buttons on and make some buttonholes.


At that point I thought I'd try it on Libby, just to make sure everything fit all right.  That's when it all went horribly wrong!  The armholes were too tight!  I didn't understand.  I used the same pattern pieces that had fit fine the week before.  But they were definitely too tight.  They weren't quite cutting off circulation to her arms, but nearly.  I think it was just the sheer thickness of all the layers.  So it was back to the drawing board.  I had to unpick the dress practically to the beginning to make the armholes bigger.  I re-cut a new bodice lining but managed to save the skirt lining.

I have since tried the bodice on Libby and it now fits, woo hoo!  I've reattached the skirt and skirt lining.  Now all I need to do is hem the dress, attach some buttons, and make some buttonholes.  Sound familiar?  I'm going to pause for a couple of days though and have another trying on session.  Just to make sure.