Pages

Showing posts with label Christening dress. Show all posts

Monday, 25 August 2014

Libby's Christening

Last week was Libby's christening.  I'd finished the dress the week before and arranged to drop it off on the Tuesday before the big day.  When she'd try it on yet again.  Her Mam did joke that every time she sees me she'll start stripping off!

During Monday night/Tuesday morning I had a nightmare.  An actual nightmare!  I mean I sometimes dream about projects I'm in the middle of (is that really sad to admit to?), but a nightmare was new.  Libby was having a final try on of dress and shoes, but it wasn't going well.  The poor bairn had very oddly shaped feet.  The shoes were the same size as each other but one foot was so big the shoe wouldn't go on, and the other foot was so small the shoe was dangling off, held on only by the ribbons!  Not the most auspicious of starts.  Then we tried her dress on.  And there was an incident.  I won't go into too much detail, but let's just say there was nappy leakage.  A lot of it.  Baby wipes didn't help at all.

So Tuesday dawned and I was slightly panicked about shoe and dress incidents.  I had a word with Libby that she wasn't allowed to poo near the dress.  I'm not sure she was listening.  She was too busy eyeing up the sparkles.


You can just about see one of the shoes sticking out under the dress there.  These were the best shots we could get of her.  The rest were all too blurry with all the dancing!  I'm also not sure why she looks quite so serious!

I've got a few shots of her after christening too.  By this stage shoes and socks had come off.  I'm surprised they lasted as long as they did.


The look of fascination in the top shot is because there was a young boy just out of shot with a dinosaur he was showing Libby.

One more thing to mention, during the actual christening service, about halfway through, there were distinct straining noises coming from near the font!  As you can see though, the nappy performed it's purpose admirably. 

Saturday, 9 August 2014

Libby's dress

With a whole week(!) to go, I've finished Libby's christening dress.  That's quite impressive for me.  I wouldn't say I left things until the last minute, but I have been known to still be finishing dresses for the nieces the day before they were required.


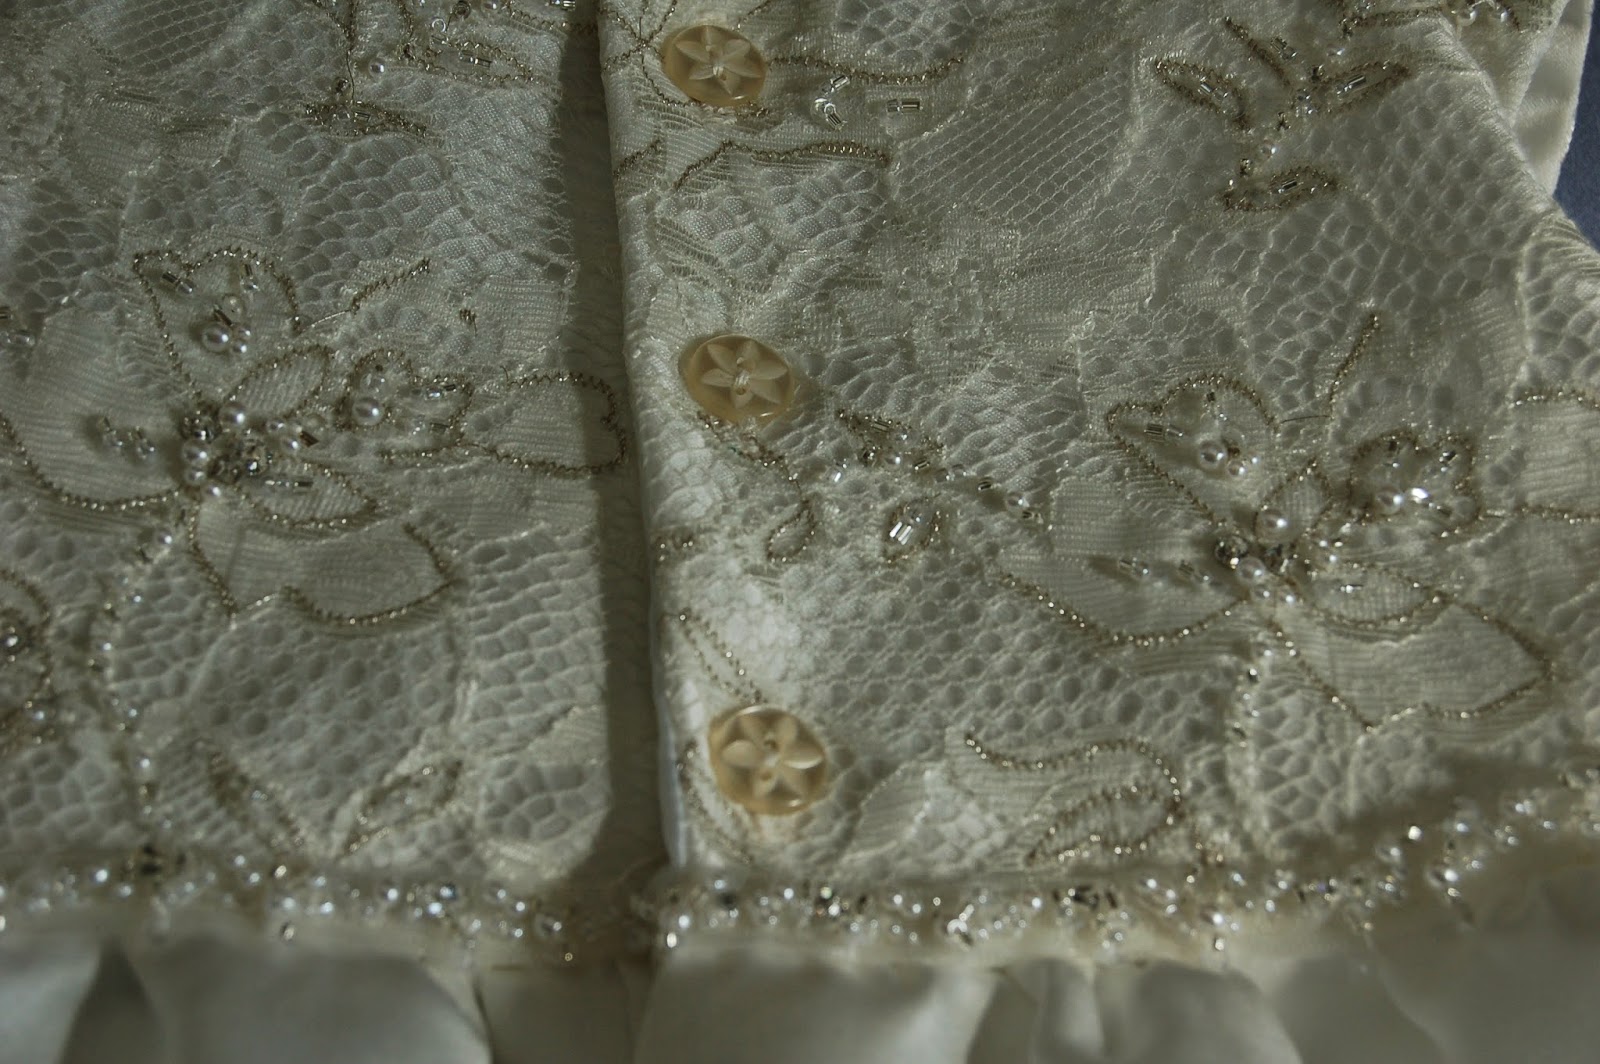
Do you remember the trim that I didn't think would come off the wedding dress in one piece?  Well it turns out it did.  So I've been able to use it around the waist of the dress.


We've got buttons down the back.


And now for the Ta-Dah moment...  Are you ready...


My ironing board wouldn't quite fit the length of the dress on.  Of course I didn't think of spreading it out on the floor until after I'd taken the shots.  I did cover the ironing board for you though.  I was trying to be a bit arty.

And as a sort of bonus, with some of the leftover fabric and trim, I made...


Some really cute, teeny, tiny shoes!


They may well be the cutest things I've ever made!  The fabric and trim all came from the wedding dress, but the organza ribbon is some I had in my stash.  I was going to put some of the trim over the top of the shoes, but I couldn't coordinate myself and I thought it might be too difficult to actually get feet in and out of them.

I can't quite believe I've finished.  And I've been very good, I haven't pointed out any mistakes at all in this post!

Sunday, 3 August 2014

Disaster!

So, I left you last week feeling proud, and let's face it, a little smug.  I had a completed bodice and just had to attach the skirt.


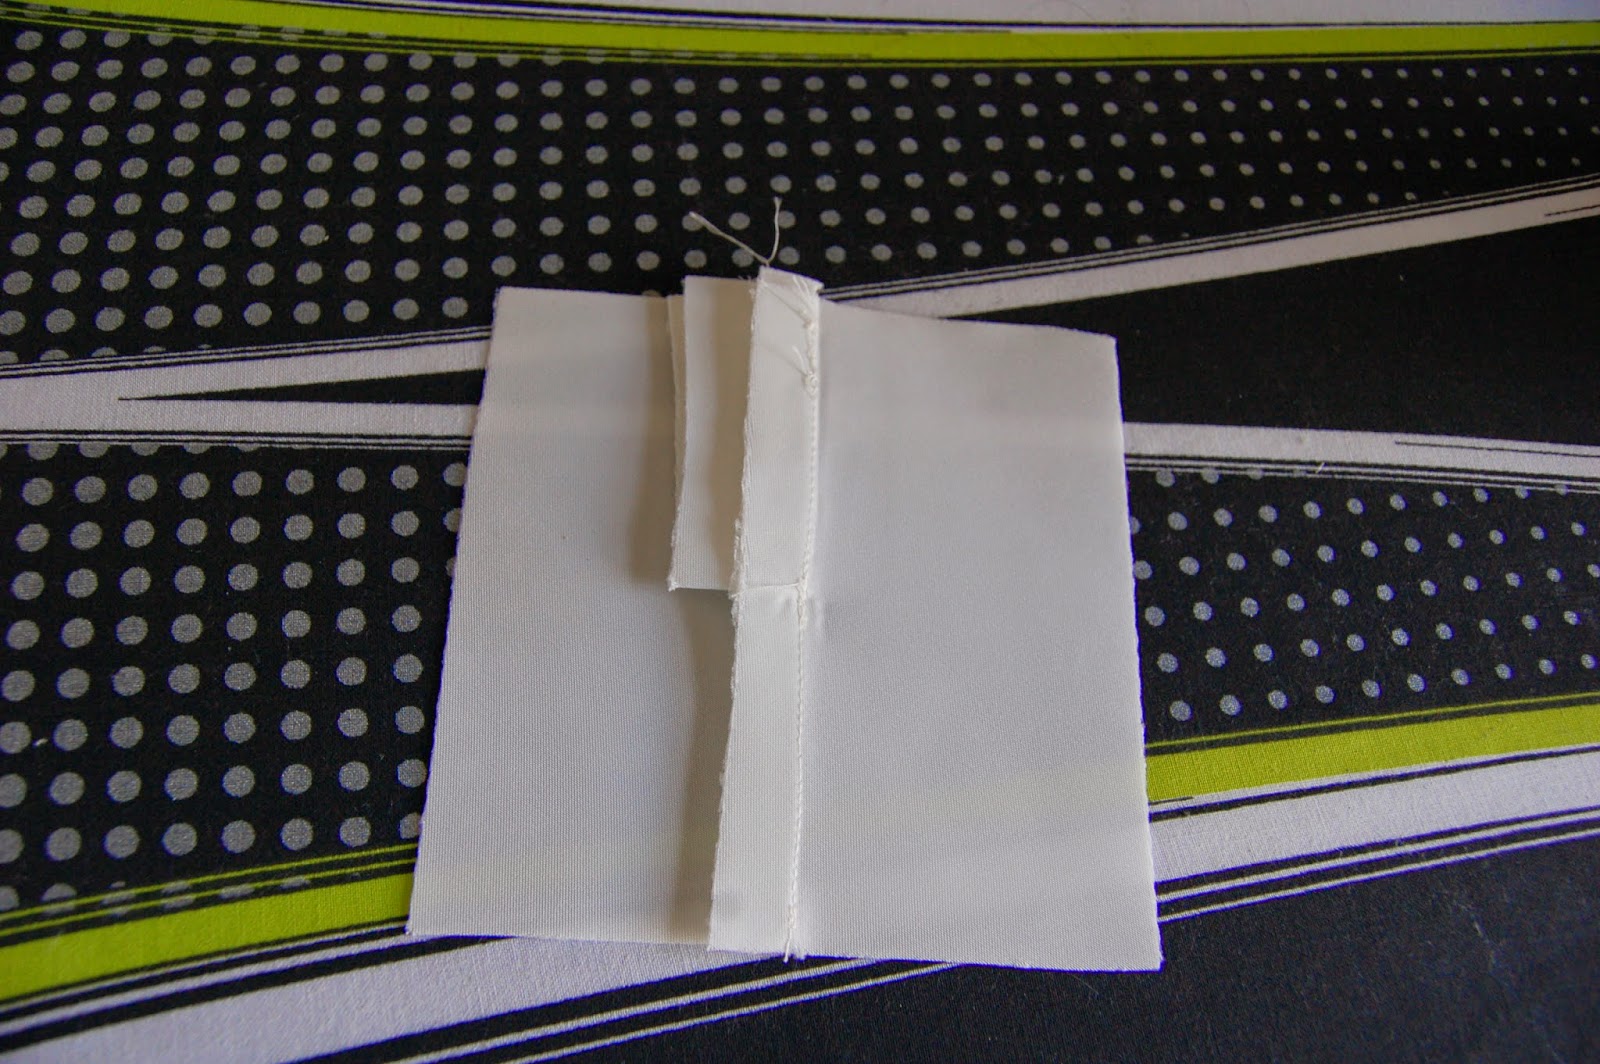
Last Sunday I gathered the skirt and attached it, taking lots of photos of practice and real placket in the process.


By the end of last weekend I only had to hem the dress and put some buttons on and make some buttonholes.


At that point I thought I'd try it on Libby, just to make sure everything fit all right.  That's when it all went horribly wrong!  The armholes were too tight!  I didn't understand.  I used the same pattern pieces that had fit fine the week before.  But they were definitely too tight.  They weren't quite cutting off circulation to her arms, but nearly.  I think it was just the sheer thickness of all the layers.  So it was back to the drawing board.  I had to unpick the dress practically to the beginning to make the armholes bigger.  I re-cut a new bodice lining but managed to save the skirt lining.

I have since tried the bodice on Libby and it now fits, woo hoo!  I've reattached the skirt and skirt lining.  Now all I need to do is hem the dress, attach some buttons, and make some buttonholes.  Sound familiar?  I'm going to pause for a couple of days though and have another trying on session.  Just to make sure.

Saturday, 26 July 2014

Christening Dress Bodice

I started making the bodice for Libby's christening dress today.  I actually remembered to take photos during most of the steps too.  So I'm afraid I'm going to bore you with a step-by-step guide to my afternoon.

After cutting and unpicking the dress train I was left with pieces like the ones below.


That's obviously only one half.  It looks like loads of fabric, but because the sides are curved you don't get masses of usable fabric.

I pinned the pattern pieces to one of the lace sections of the fabric.


I would normally do this through two layers at once, but was easier avoiding beads this way and I wanted to make sure I got a beaded flower on the front of the bodice, as well as some beading on the back.

After cutting I removed beads that would be in the way of any seams and also where the buttons will be.   I stay-stitched the neckline and added some light interfacing to the neckline and down the centre back.  This was to try to stabilise the fabric a bit.  I also finished all the straight edges with an overcast stitch to stop them from fraying.


You can see the right side and the wrong side above.  When I made the cap sleeves I lined them with some of the plain satin.  I would normally just fold the main fabric, but that would mean some beads irritating Libby's skin.

Next I joined the front and back pieces together along the shoulder seams.


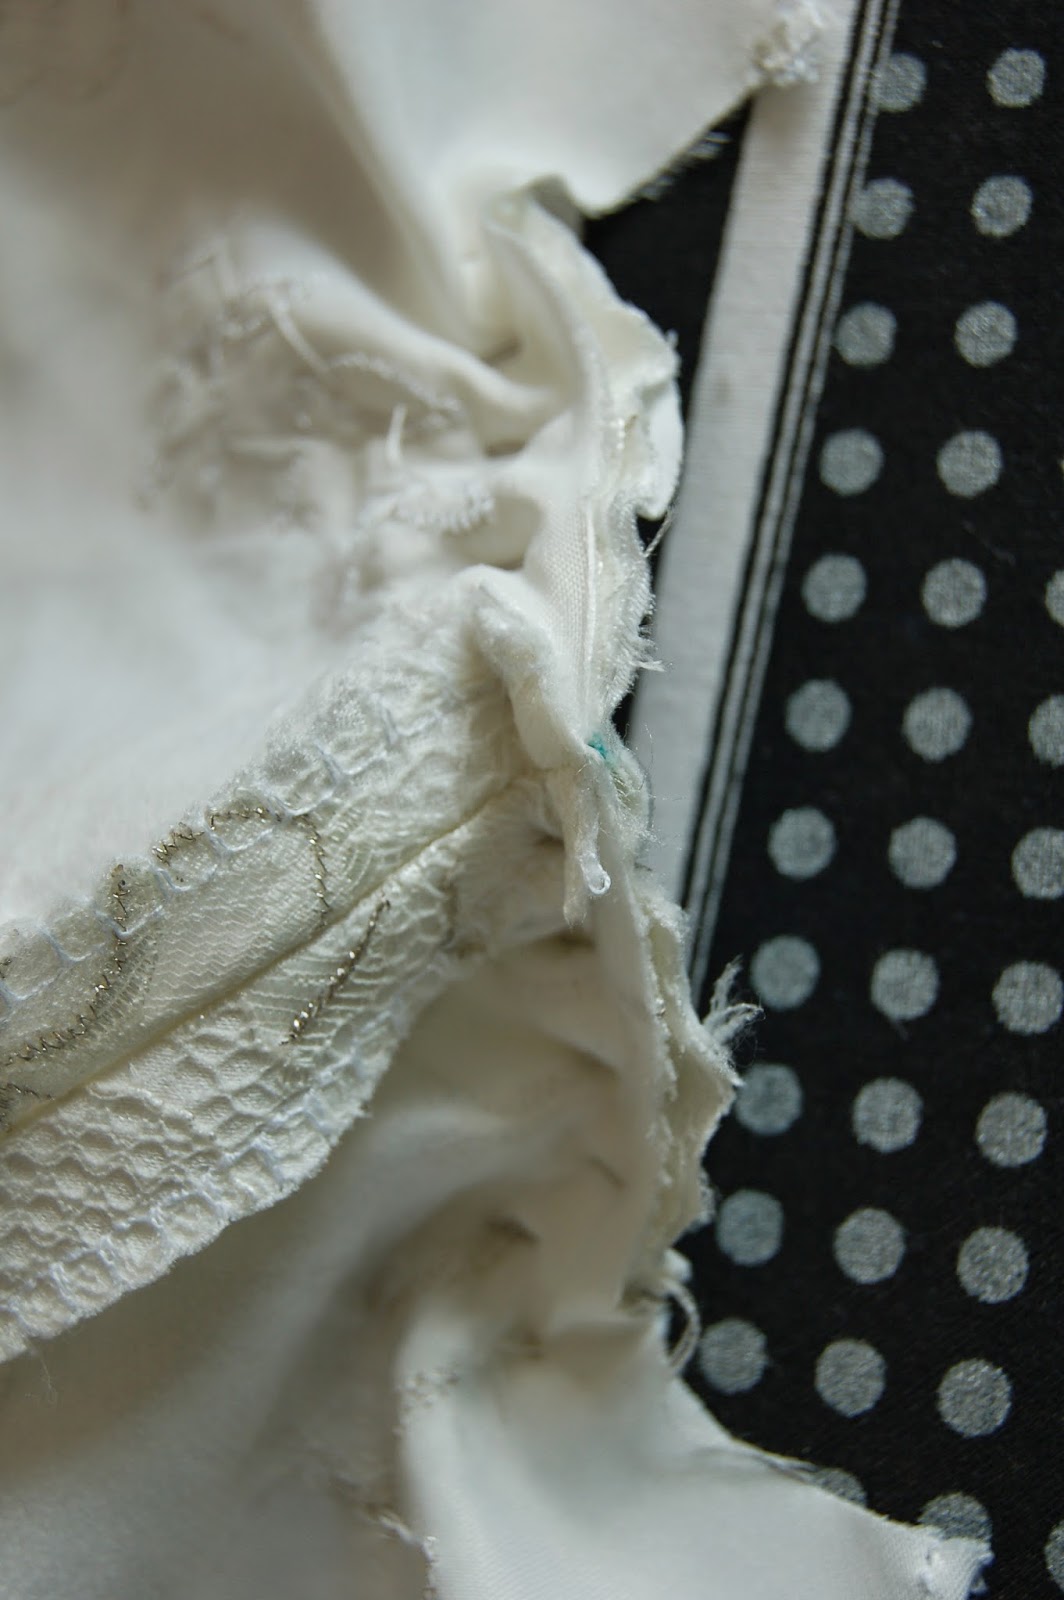
Then I pinned and sewed the sleeves in place.


It looks (and is) really awkward to pin the sleeves in place, but as you can see, it looks fine once sewn and turned the right way around.


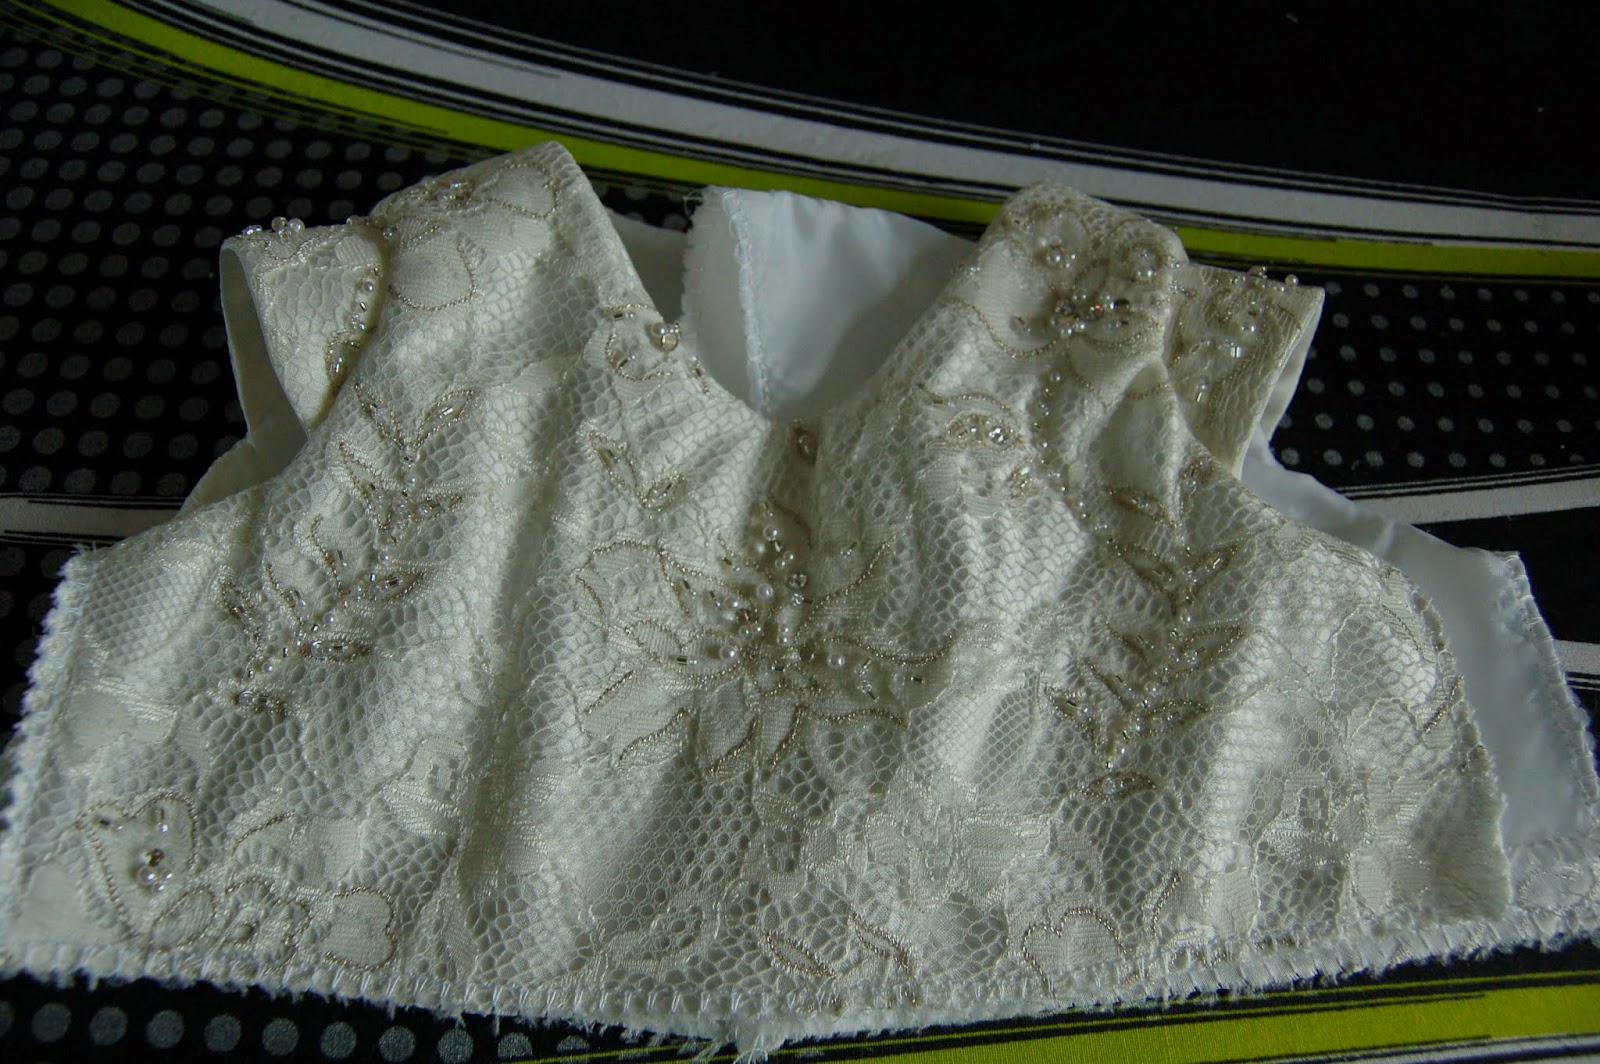
I pinned and sewed the lining around the neckline and armholes, then notched and trimmed the curved seam allowances.


And ta-dah!  An almost complete bodice.  Tomorrow I'll be tackling the skirt.  Now I think it's about time to break open the wine!


Saturday, 19 July 2014

The case of the Goldilocks christening dress

I've been shamed into posting by my work colleagues.  It was pointed out to me that I hadn't posted in over two weeks.  My bad.  I'm going to get some excuses in though before I start the post proper.  I have been working on stuff.  I've made a few cards and I've been making mock ups of Libby's christening dress (more on that in a minute) but the weekend before last my fabulous Other Half whisked me away for the weekend!  It really was whisked too.  He told me about it at ten past seven on the Friday morning and we left that night as soon as we both got in from work and packed.  It was a lot of information to take in at that time of a morning, especially when he told me he'd been in touch with my boss at work and booked me the Monday off as well!  How amazing was he?  The best part was everyone knew apart from me and had been lying (in a good way) to me for a couple of weeks!

I digress.  The case of the Goldilocks christening dress.  As I mentioned in my last post, I've been asked to make a christening dress.  Ann is an almost relative of Other Half.  He grew up calling Ann's parents Auntie and Uncle, although they're not actually related.  I've been promising to make a dress for Libby (Ann's daughter) since she was born.  Before Christmas.  I do eventually get around to doing things, but I'm much better if I have an actual deadline.  Like a christening looming.   So, Ann asked if it would be possible to use the train from her wedding dress.


We decided, by default, to make the bodice out of the lace covered satin from the middle section and the skirt from the plain satin.  There is also a beaded trim that we thought would look nice around Libby's waist.


When I looked closer, though, it looked like all the beads would fall off as soon as I tried to unpick it.  Boo.  Before I cut into the dress at all I thought it would be best to draft a pattern and have a practice run, or six.

I measured Libby.  Which was hard.  She's a very active child.  She loves standing up for you (not quite under her own steam) but likes to dance while she does!  Not easy to get a tape measure around relevant parts of the body.  I made a pattern that seemed quite reasonable.

I had some satin in my stash that seemed about the same weight as the wedding dress so made my first mock up using that.  I made most of the dress including a placket.  I barely know what a placket is, but I was very proud of the achievement.  For those completely in the dark, a placket is a slit in the back of a skirt at the waistband, under the buttons, so that you can get the dress on and off.  Or it was in this case anyway.  You also use them on shirt sleeves, above the cuffs.

The bodice was too big.  As in massive!  When we got Libby into it and remeasured, the length was fine but we needed to lose about 4" from around the waist.  Back to the drawing board.

I altered the pattern.


That's attempt at pattern number 2 on the bodice of pattern number 1.  As you can see I altered it quite a lot.  A bit too much in fact.  I ended up with a teeny bodice with huge armholes.  It didn't look like it was made for a human child at all.  I puzzled over this for a few days and decided the best thing to do would be start again from scratch and redraft the bodice.  I made it up out of some muslin.  I didn't line it, but I did sew in all the seam and hemlines using black thread so it was obvious where it was going to sit on Libby's body.

I then visited Libby again.  The second bodice was, unsurprisingly, too small.  Although it wasn't as bad as I'd feared.  Can you see where the Goldilocks reference is going yet?  The third bodice was just right.  Or it almost was.  I just needed to lower the front neckline slightly.

Now for the nerve-wracking moment that I'd been dreading.  I was going to have to cut into the dress.  Ann if you're reading this you may want to look away now!  Although not before I tell you that I did actually measure it first.  I think I measured this dress from every possible angle.  I couldn't quite decide how it should sweep at the back.  I tried measuring from the boning at the waist.  Then I rubbed out the marks.  I tried tracing the front onto the back.  Then I rubbed out the marks.  I tried lying it on it's side and measuring like that.  Then I rubbed out the marks.  I think you get the picture.

Several hours later I decided to put dress on my dress-form.  Quite why that idea hadn't occurred to me before I don't know.  I pinned by eye where I thought the hem should go.  Then I rang my Mam for back up.  While I was waiting for her to arrive I noticed that the pins I'd just put in corresponded to some of the measuring I'd done earlier.  Apparently the last attempt hadn't been that far out at all!  D'Oh.

Back up arrived and pointed out that I should measure the depth of the train at the seam lines to make sure I was cutting off an even amount on both sides.  It was so obvious when my Mam said it.  When we measured, it was almost spot on.  And more importantly, Mam thought that was about where hemline should go as well.  Result!


You can just about see the pin line on the picture above.  I then put in another line of pins an inch below the first row as a cutting guide.  Then I got out my trusty blue felt tip.

 Don't panic!  It's actually a water soluble marker that I did test on a small patch of the fabric I'd be cutting off.  After taking a few deep calming breaths I did it.  I cut into the wedding dress.How brave was I?  After cutting I finished off the edge, so it won't fray, ready to be hemmed.


After taking apart the crescent shaped section I was left with, I made yet another practice dress.  I gave the skirt as much width as I could, but it didn't gather up very much.


 I'm going to see how it looks on Libby later in the week  The only other plan I can think of is to make a more A-line skirt, but I'm not sure how successful it would be and whether I'd be able to get the length needed.  Ah well, we'll cross that bridge when, or if, we come to it.