I started making the bodice for Libby's christening dress today. I actually remembered to take photos during most of the steps too. So I'm afraid I'm going to bore you with a step-by-step guide to my afternoon.
After cutting and unpicking the dress train I was left with pieces like the ones below.

That's obviously only one half. It looks like loads of fabric, but because the sides are curved you don't get masses of usable fabric.
I pinned the pattern pieces to one of the lace sections of the fabric.

I would normally do this through two layers at once, but was easier avoiding beads this way and I wanted to make sure I got a beaded flower on the front of the bodice, as well as some beading on the back.
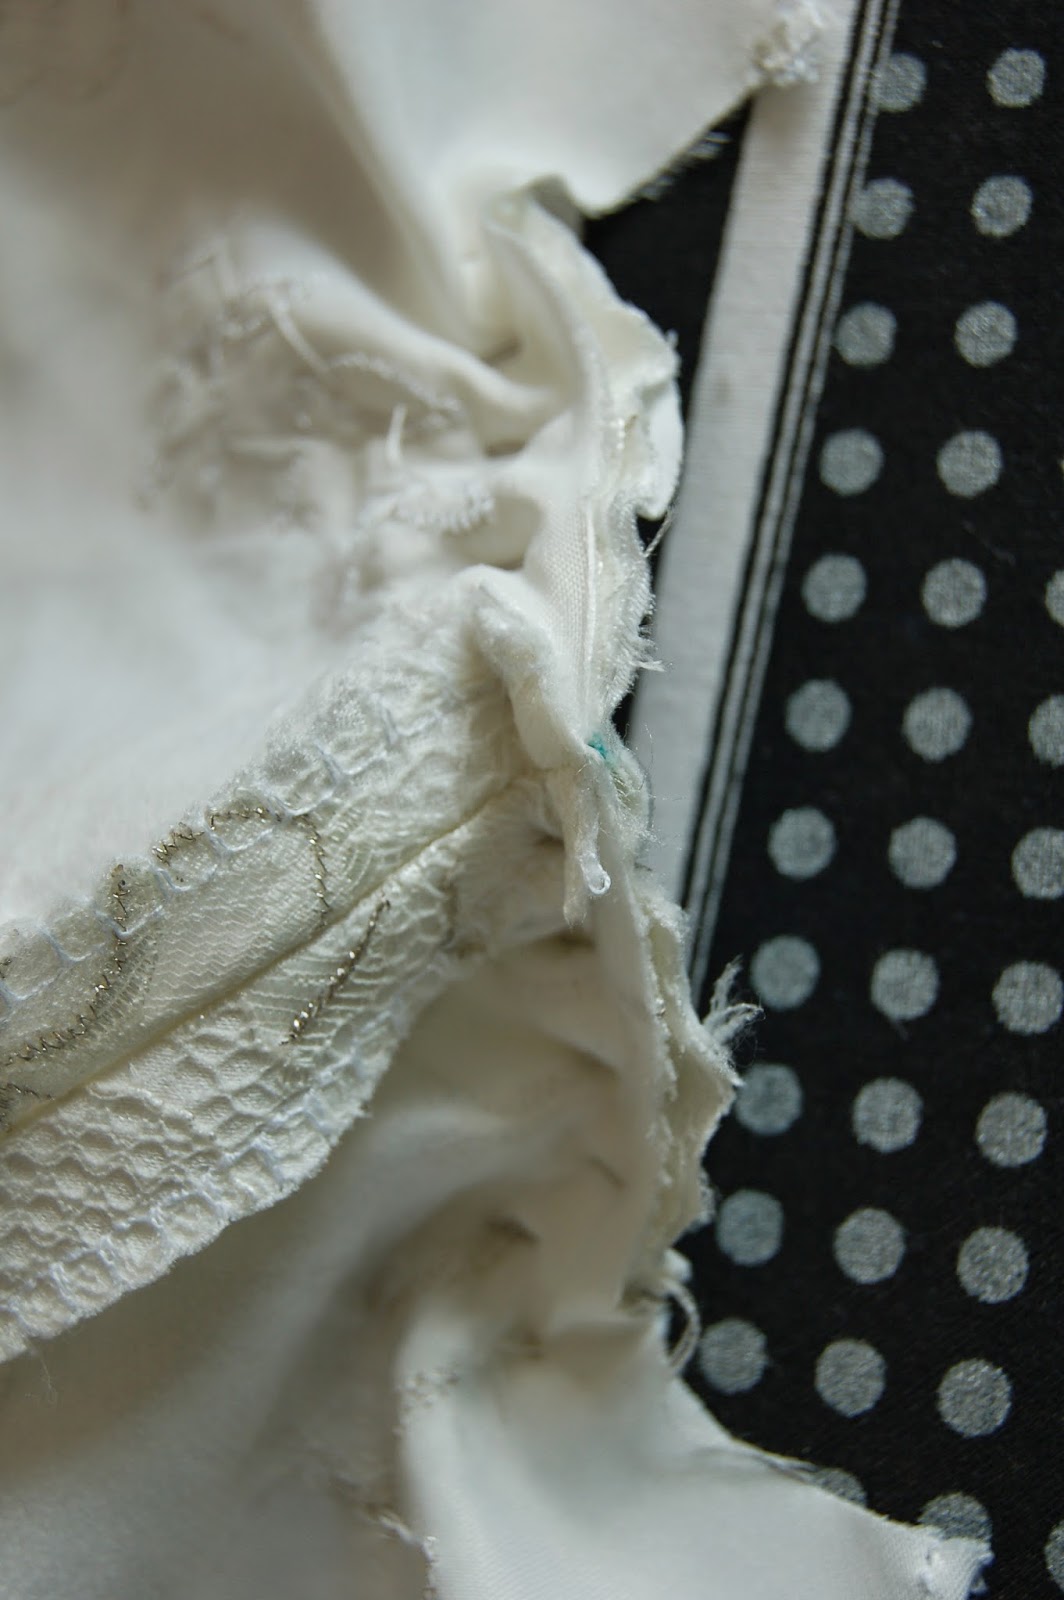
After cutting I removed beads that would be in the way of any seams and also where the buttons will be. I stay-stitched the neckline and added some light interfacing to the neckline and down the centre back. This was to try to stabilise the fabric a bit. I also finished all the straight edges with an overcast stitch to stop them from fraying.


You can see the right side and the wrong side above. When I made the cap sleeves I lined them with some of the plain satin. I would normally just fold the main fabric, but that would mean some beads irritating Libby's skin.
Next I joined the front and back pieces together along the shoulder seams.

Then I pinned and sewed the sleeves in place.


It looks (and is) really awkward to pin the sleeves in place, but as you can see, it looks fine once sewn and turned the right way around.

I pinned and sewed the lining around the neckline and armholes, then notched and trimmed the curved seam allowances.
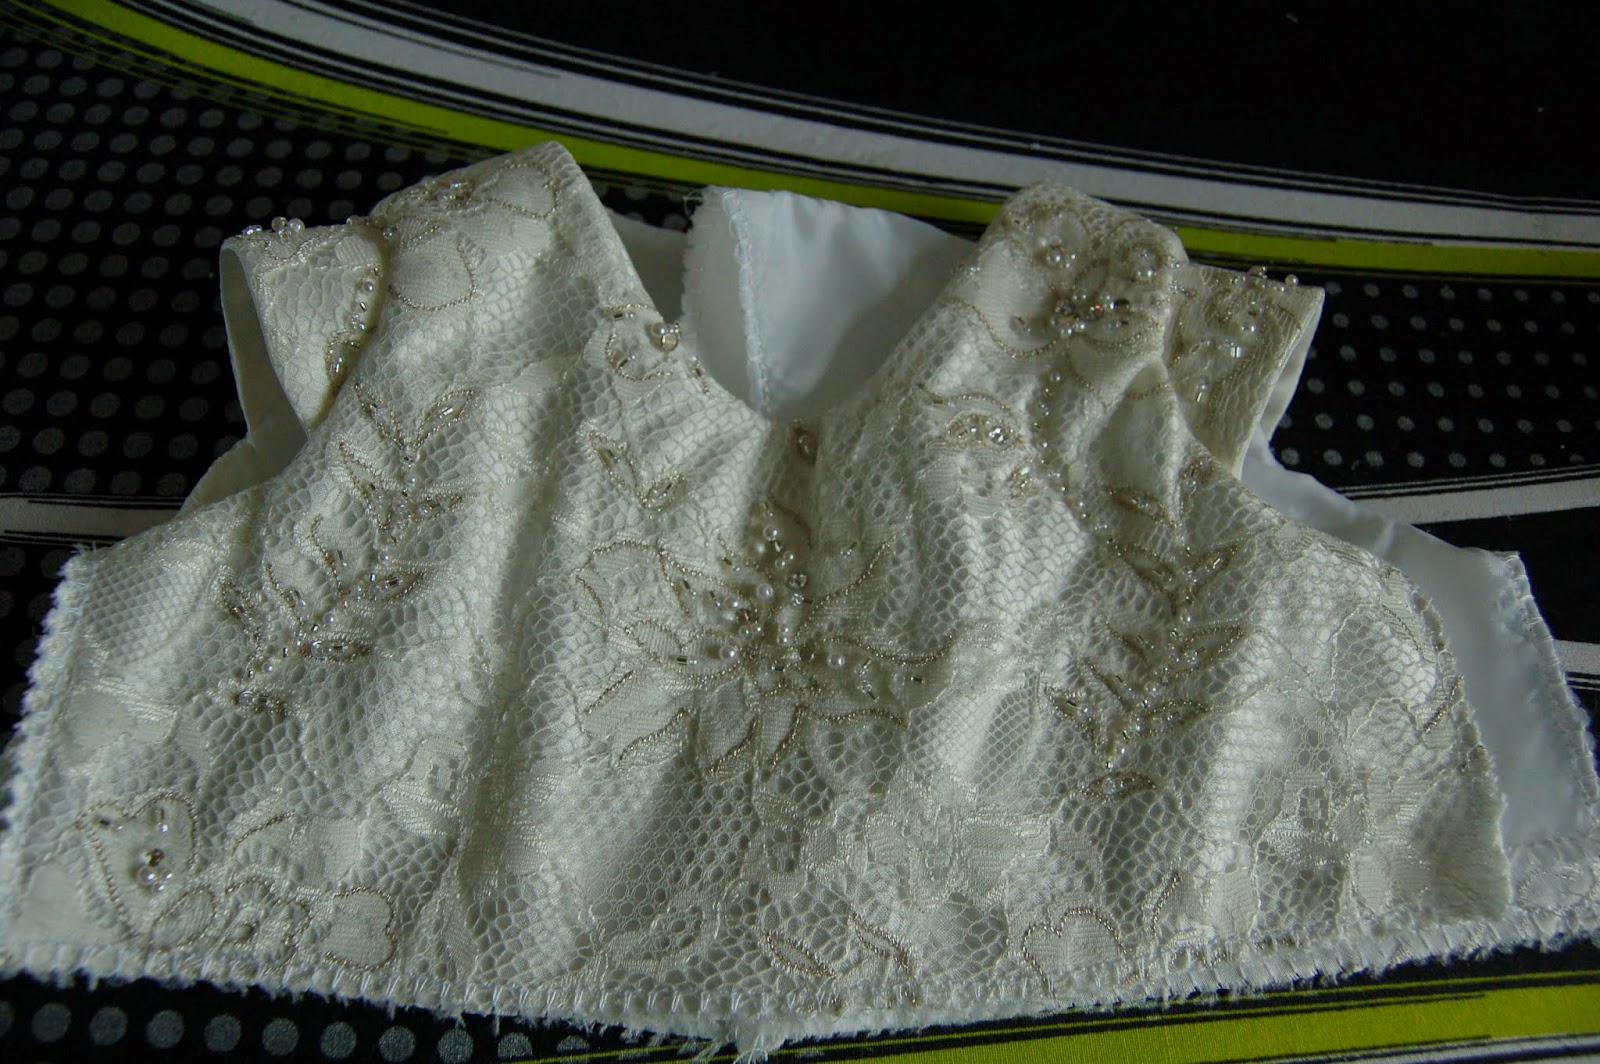


And ta-dah! An almost complete bodice. Tomorrow I'll be tackling the skirt. Now I think it's about time to break open the wine!
Well done. Just as well we didn't want a lift.
ReplyDelete