Pages

Saturday, 26 July 2014

Christening Dress Bodice

I started making the bodice for Libby's christening dress today.  I actually remembered to take photos during most of the steps too.  So I'm afraid I'm going to bore you with a step-by-step guide to my afternoon.

After cutting and unpicking the dress train I was left with pieces like the ones below.


That's obviously only one half.  It looks like loads of fabric, but because the sides are curved you don't get masses of usable fabric.

I pinned the pattern pieces to one of the lace sections of the fabric.


I would normally do this through two layers at once, but was easier avoiding beads this way and I wanted to make sure I got a beaded flower on the front of the bodice, as well as some beading on the back.

After cutting I removed beads that would be in the way of any seams and also where the buttons will be.   I stay-stitched the neckline and added some light interfacing to the neckline and down the centre back.  This was to try to stabilise the fabric a bit.  I also finished all the straight edges with an overcast stitch to stop them from fraying.


You can see the right side and the wrong side above.  When I made the cap sleeves I lined them with some of the plain satin.  I would normally just fold the main fabric, but that would mean some beads irritating Libby's skin.

Next I joined the front and back pieces together along the shoulder seams.


Then I pinned and sewed the sleeves in place.


It looks (and is) really awkward to pin the sleeves in place, but as you can see, it looks fine once sewn and turned the right way around.


I pinned and sewed the lining around the neckline and armholes, then notched and trimmed the curved seam allowances.


And ta-dah!  An almost complete bodice.  Tomorrow I'll be tackling the skirt.  Now I think it's about time to break open the wine!


Wednesday, 23 July 2014

New Fabric!

I'm all excited!  I've just been shopping and have lots of new fabric!  Woo Hoo!  Sorry, that is quite a lot of exclamation marks in such a small space.  I'll take a few deep breaths and try to be more sensible.

I dragged my Mam to 'The Fat Quarters' quilt shop.  Tiny baby quilts were delivered and they now have another scheme running as well.  You may be seeing some pillowcases in future.  They're again for hospital patients, but this time ranging in age from babies to young adults.  I've picked up some instructions for sizing, but it may be a while before I get around to making some.  Hopefully not as long as the quilts took.

We bought fabric for two baby quilts today.


This is for quilt number one.  We don't know whether it's going to be for a boy or a girl, but I was allowed to get bright fabric.  I'm just not sure they're prepared for my kind of bright.  The photos don't really do justice to quite how yellow that fabric really is.  You almost have to wear shades.  When I made my first quilt (for Charlotte)  I picked some lovely bright colours.  We had a blue fabric with brightly coloured balloons on. I matched this with lots of bright orange and yellow.  I love that quilt.  It was shortly after I completed it that I bought a quilting book (The Quilter's Ultimate Visual Guide).  It has a couple of paragraphs devoted to the colour yellow in quilts.  I quote
Even when paired with purple, its natural complement, it is recommended that yellow be used sparingly.  Three parts purple to one part yellow is generally considered a pleasing and harmonious proportion.
Well, there's no purple at all in Charlotte's quilt and I certainly didn't use the yellow sparingly!  Whoops.

Second quilt is for a baby boy. I found pirate fabric!


I love pirates!  I considered it as a career choice when I was about 7.  When we found the pirates we did wonder whether it was appropriate to have bottles of rum on a baby quilt.  It didn't stop us buying it though.

I also bought a 'Roll Up'.


This is for a top secret project that I'll share with you later in the year.  It will look very different next time you see it.

I also thought I'd share the fabric I've got for the dress I'm making for Auntie Linda's wedding.


I'm not sure whether I'm using the shiny 'right' side of the fabric or the slightly duller 'wrong' side.  It's not really shiny, but I'm a bit concerned that it's going to be too 'bridesmaidy'.  That's the right side showing in the photo, so it maybe won't look too bad.  I have started drafting a pattern for this dress, but I'm going to need to make a mock up for it because I think I'm adding boning(!) to give it some structure.

In other news, I tried the latest version of the christening dress on Libby yesterday and I think I'll be full steam ahead with that at the weekend because it did fit.

Saturday, 19 July 2014

The case of the Goldilocks christening dress

I've been shamed into posting by my work colleagues.  It was pointed out to me that I hadn't posted in over two weeks.  My bad.  I'm going to get some excuses in though before I start the post proper.  I have been working on stuff.  I've made a few cards and I've been making mock ups of Libby's christening dress (more on that in a minute) but the weekend before last my fabulous Other Half whisked me away for the weekend!  It really was whisked too.  He told me about it at ten past seven on the Friday morning and we left that night as soon as we both got in from work and packed.  It was a lot of information to take in at that time of a morning, especially when he told me he'd been in touch with my boss at work and booked me the Monday off as well!  How amazing was he?  The best part was everyone knew apart from me and had been lying (in a good way) to me for a couple of weeks!

I digress.  The case of the Goldilocks christening dress.  As I mentioned in my last post, I've been asked to make a christening dress.  Ann is an almost relative of Other Half.  He grew up calling Ann's parents Auntie and Uncle, although they're not actually related.  I've been promising to make a dress for Libby (Ann's daughter) since she was born.  Before Christmas.  I do eventually get around to doing things, but I'm much better if I have an actual deadline.  Like a christening looming.   So, Ann asked if it would be possible to use the train from her wedding dress.


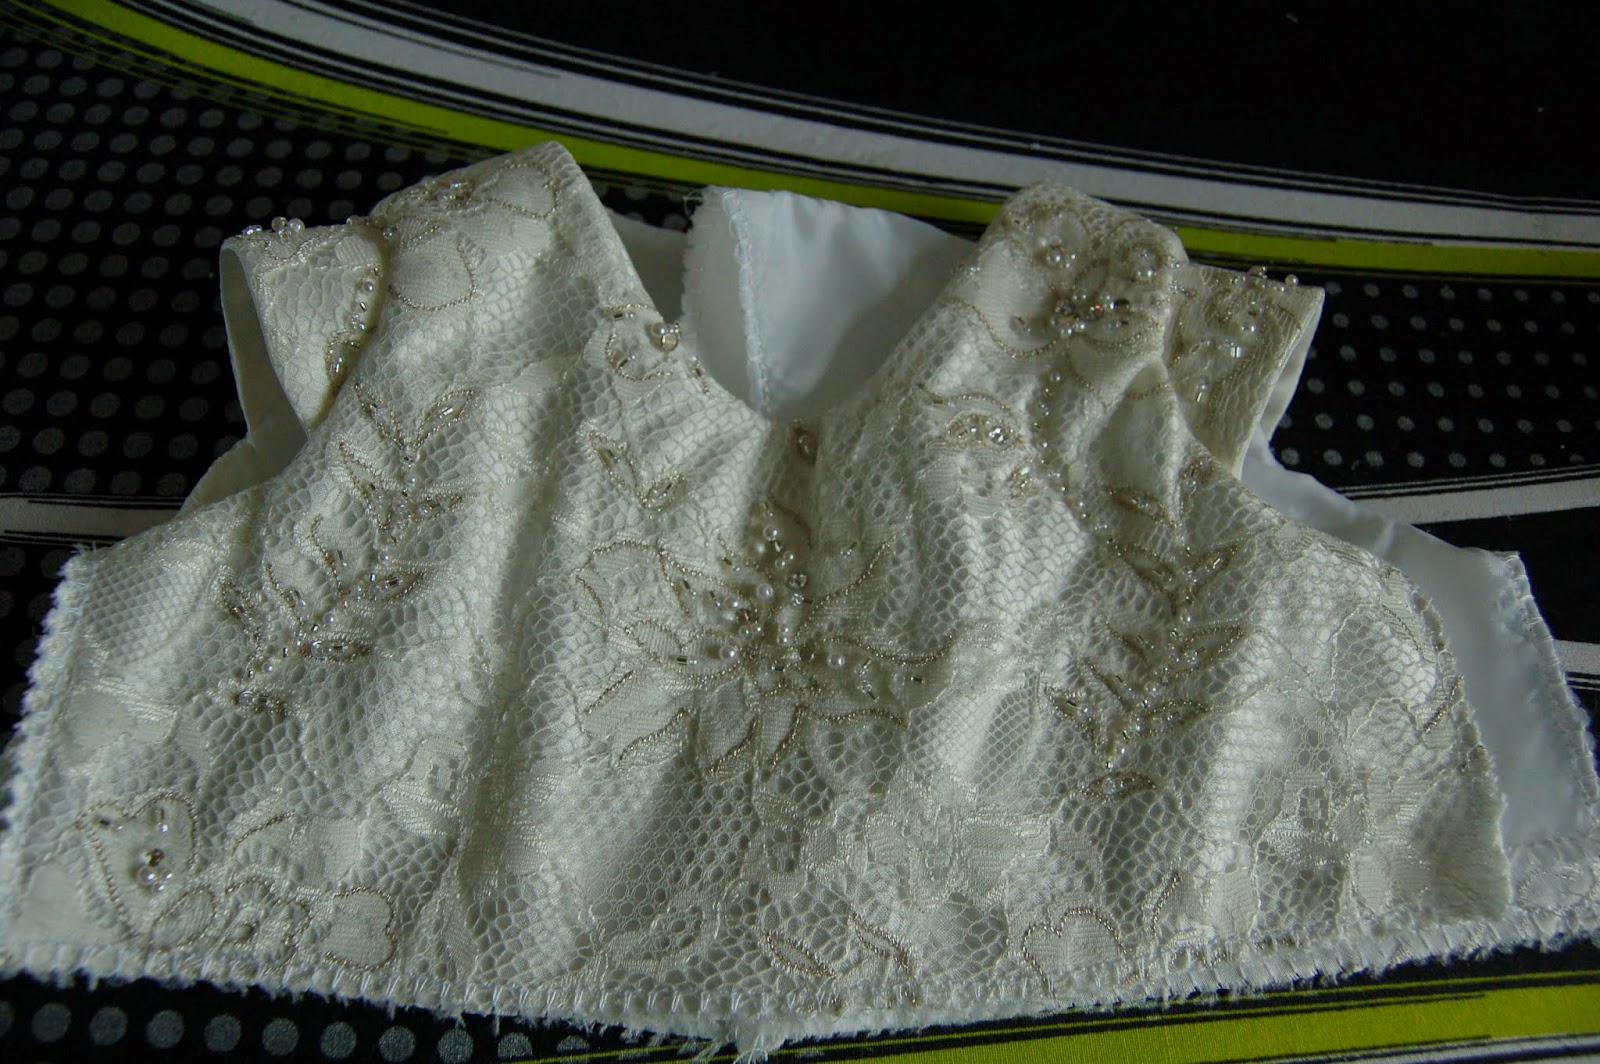
We decided, by default, to make the bodice out of the lace covered satin from the middle section and the skirt from the plain satin.  There is also a beaded trim that we thought would look nice around Libby's waist.


When I looked closer, though, it looked like all the beads would fall off as soon as I tried to unpick it.  Boo.  Before I cut into the dress at all I thought it would be best to draft a pattern and have a practice run, or six.

I measured Libby.  Which was hard.  She's a very active child.  She loves standing up for you (not quite under her own steam) but likes to dance while she does!  Not easy to get a tape measure around relevant parts of the body.  I made a pattern that seemed quite reasonable.

I had some satin in my stash that seemed about the same weight as the wedding dress so made my first mock up using that.  I made most of the dress including a placket.  I barely know what a placket is, but I was very proud of the achievement.  For those completely in the dark, a placket is a slit in the back of a skirt at the waistband, under the buttons, so that you can get the dress on and off.  Or it was in this case anyway.  You also use them on shirt sleeves, above the cuffs.

The bodice was too big.  As in massive!  When we got Libby into it and remeasured, the length was fine but we needed to lose about 4" from around the waist.  Back to the drawing board.

I altered the pattern.


That's attempt at pattern number 2 on the bodice of pattern number 1.  As you can see I altered it quite a lot.  A bit too much in fact.  I ended up with a teeny bodice with huge armholes.  It didn't look like it was made for a human child at all.  I puzzled over this for a few days and decided the best thing to do would be start again from scratch and redraft the bodice.  I made it up out of some muslin.  I didn't line it, but I did sew in all the seam and hemlines using black thread so it was obvious where it was going to sit on Libby's body.

I then visited Libby again.  The second bodice was, unsurprisingly, too small.  Although it wasn't as bad as I'd feared.  Can you see where the Goldilocks reference is going yet?  The third bodice was just right.  Or it almost was.  I just needed to lower the front neckline slightly.

Now for the nerve-wracking moment that I'd been dreading.  I was going to have to cut into the dress.  Ann if you're reading this you may want to look away now!  Although not before I tell you that I did actually measure it first.  I think I measured this dress from every possible angle.  I couldn't quite decide how it should sweep at the back.  I tried measuring from the boning at the waist.  Then I rubbed out the marks.  I tried tracing the front onto the back.  Then I rubbed out the marks.  I tried lying it on it's side and measuring like that.  Then I rubbed out the marks.  I think you get the picture.

Several hours later I decided to put dress on my dress-form.  Quite why that idea hadn't occurred to me before I don't know.  I pinned by eye where I thought the hem should go.  Then I rang my Mam for back up.  While I was waiting for her to arrive I noticed that the pins I'd just put in corresponded to some of the measuring I'd done earlier.  Apparently the last attempt hadn't been that far out at all!  D'Oh.

Back up arrived and pointed out that I should measure the depth of the train at the seam lines to make sure I was cutting off an even amount on both sides.  It was so obvious when my Mam said it.  When we measured, it was almost spot on.  And more importantly, Mam thought that was about where hemline should go as well.  Result!


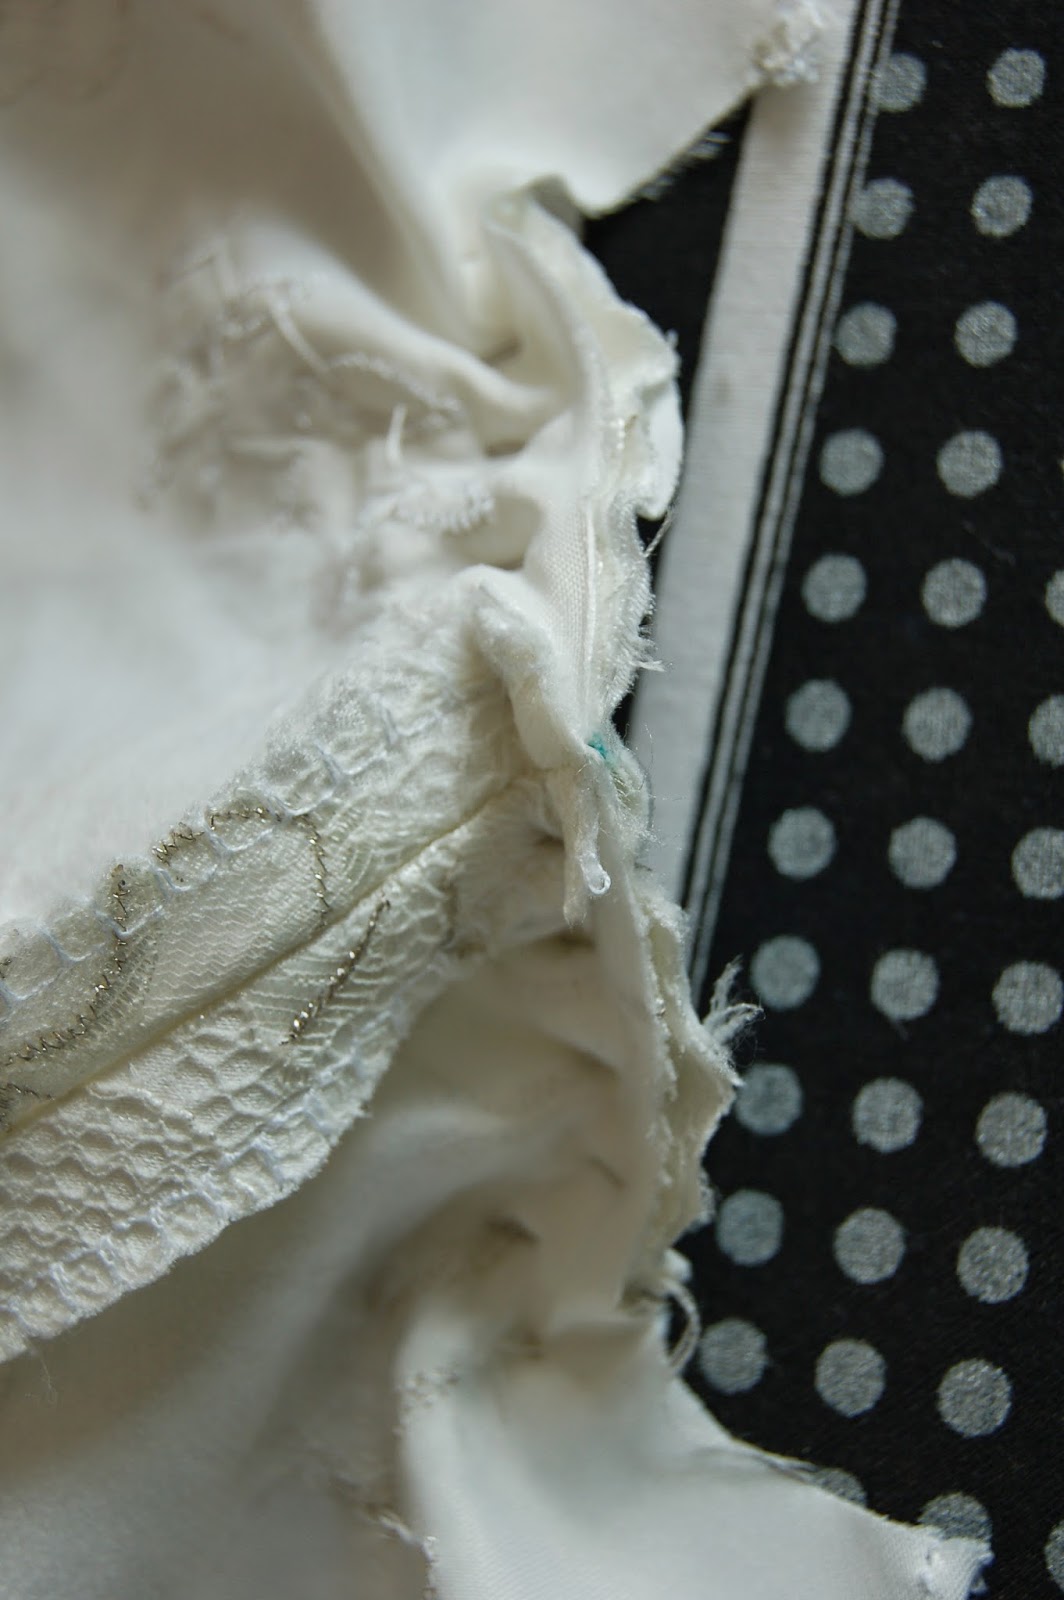
You can just about see the pin line on the picture above.  I then put in another line of pins an inch below the first row as a cutting guide.  Then I got out my trusty blue felt tip.

 Don't panic!  It's actually a water soluble marker that I did test on a small patch of the fabric I'd be cutting off.  After taking a few deep calming breaths I did it.  I cut into the wedding dress.How brave was I?  After cutting I finished off the edge, so it won't fray, ready to be hemmed.


After taking apart the crescent shaped section I was left with, I made yet another practice dress.  I gave the skirt as much width as I could, but it didn't gather up very much.


 I'm going to see how it looks on Libby later in the week  The only other plan I can think of is to make a more A-line skirt, but I'm not sure how successful it would be and whether I'd be able to get the length needed.  Ah well, we'll cross that bridge when, or if, we come to it.


Tuesday, 1 July 2014

Five Tiny Baby Quilts

I've finally finished some incubator quilts.  They've only been a year or so in the making.  But now they're all pieced, sandwiched, quilted, bound and ready to go.  Yay.  Now I just hope they're suitable!


We have the star design and the pirates which you've already seen partially completed.


Then we have pink and lilac fairies.  It's really quite girly.


Frogs.

And my personal favourite (i.e. the brightest) the insects.


I did have a bit of a whoopsie when cutting the fabric for this one.  The orange background was going to be spotty, but I managed to cut the strips too small.  I'm not quite sure what it says about my fabric stash that I had another bright orange fabric that I could substitute.

I'm proud of them now they're finished, but I didn't see much of the weekend.  I was either at work or sewing.  Mainly by hand.  My machine is capable of quilting, but I've never had time to practice!  One day maybe.  I didn't draw blood too many times either.  Woo hoo.  I'm afraid you will probably be treated to many more pictures of quilts over the coming months.  I think I'm up to making three for later in the year.

The nieces haven't been neglected either.  I mean they have been sewing-wise but they now have their first loom band princesses.


Made using videos by Izzalicious Designs we have Rapunzel from Tangled and Elsa from Frozen.  The girls were thrilled.  They're now debating as to who to get next.  Charlotte's fancying Aurora, but Katie can't decide between Ariel (with a tail, no surprises there!) and Rapunzel.  I think she liked the long hair of Rapunzel.

My next project is a somewhat scary one.  I don't mean it's Halloween themed or anything.  Although come to think of it I'll probably be doing a couple of those as well.  If anyone creates a machine in the next few months that's capable of making time, please let me know.  I'd be most grateful!  Anyway, I digress.  I've been asked to make a christening dress (definitely more a dress than gown).  Remember the baby blocks I made?  Well, Libby is going to be christened in August and her Mam asked me if I'd make her outfit.  The scary part is I'm going to be using Libby's Mam's wedding dress!  I'm really flattered I've been asked, but I'm very nervous.  There is a train on the dress, so the idea is to remove that and use it to make the bairn's dress.  Wish me luck!  I feel lots of deep calming breaths coming on.  It generally takes me ages to get up the nerve to cut into any fabric.  On the plus side, the christening is in August, so I haven't got long to procrastinate!

Also in August, my Auntie Linda is getting married.  And, you've guessed it, I'm going to be making a dress for myself.    I've found a dress on Modcloth that I think I'm using as inspiration.


How pretty is that?!  I'm not sure what colour to do, but I think I want something quite pale as I'm wearing nude colour shoes.  That's right, I have shoes, but no outfit.  Why not do things backwards?

So about that time creation machine...